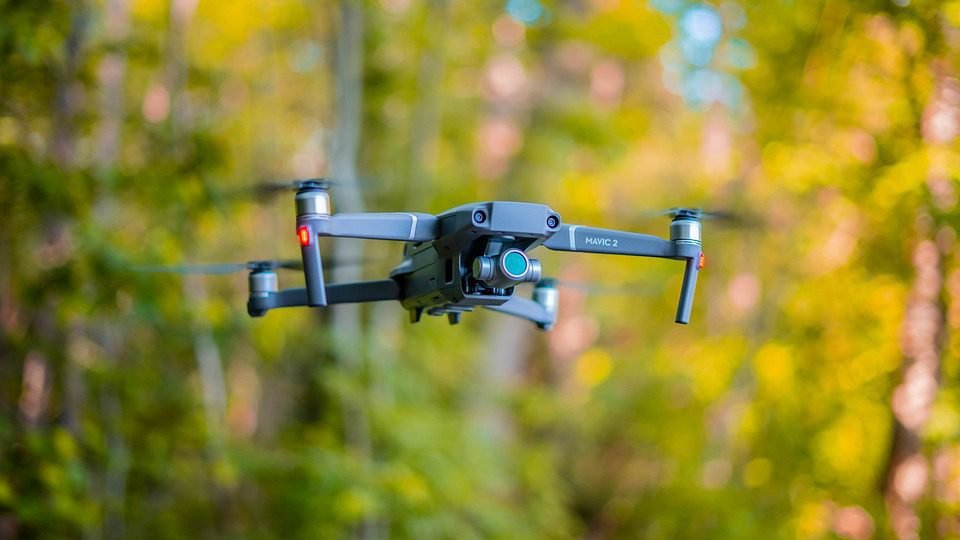
Day by day drones is getting easier and cheaper. It makes the job videographer’s job more comfortable and accessible. If you know how to fly a drone, then you can save a lot of money and time in order to make your footage look good.
In this article, we will explain a bunch of ways to shoot and amplify tremendous drone video editing. It’s better to fully control a drone in manual even though drones offer great automated modes. These tips will take more time to master than others. It usually doesn’t happen overnight to control gimbal and the drone movement to get a smooth and steady shot. So you have to be patient and keep practicing. Let’s jump into the essential tips.
Shot Techniques and Practices
- Go Slow
Going slow is the first thing you have to master. When you go slow, it appears more cinematic. Your viewers will have the impression that you’re shooti8ng from a larger platform, such as a helicopter. It makes the shot look more crafted and controlled and the production value increases subconsciously.
You have to pre-plan and visualize your shots. You can always scout your location before you shot so that you can measure the limitations of the area. If you want to optimize your drone’s battery life if you want to know what you will need ahead of time. If your batteries are out of power, you might miss out on the shot you truly need. - Two Axes of Movement
You have to imitate bug budget shots like in movies. They have two axes at the same moment. You should fly backward, downwards at the same time, at a smooth and steady rate. - Sideway Movements
If you want to show landscapes from a different perspective, you should do the strafing or sideways movement. If you do strafing, it will surely stand out because most of the landscape shots are only moving forwards or backward. You can also reveal cool features in the landscape by using this technique. - Fly-through Shots
In this technique, you have to rely on your controller screen in order to navigate your drone and it’s quite risky. If you’re confident enough in your piloting skills, do this technique. - Gimbal Movements
If you want to add another dimension to your shots, try gimbal movements combined with drone movement. It will give you up to three axes of combined movement. I really like to fly forward and tilt the gimbal upwards to reveal the landscape. - Parallax
You need to take advantage of extreme parallax effects by adding depth to your aerial scenes. You can shoot these scenes with trees or structures to the drone which will provide a visual aid to the viewers for how big the surrounding landscape is.
Camera Settings
- Flat Image Profile
Camera settings play an important role to amplify your drone shots. If you want the most dynamic range from the aerial camera, you have a film in the flattest camera profile possible. It will help you to deal with the sky and clouds from blowing out. - Shutter Speed
If you want to avoid the strobing effect on shots close to the ground, you should lower shutter speed. You can use an ND filter to keep your shutter speed down. If you shoot at 500th or 100th of a second, it will give you sharper frames, but it also gives you some heavy strobing.
Post-Process
- Correct Distortion
Removing distortion is the first step in the post-process. It gives you more pixel density in a 1080p composition and will help preserve image quality if you shoot in 4K and output the footage at 1080p. You can add your footage to a 1080p composition and then add the effect Optics Compensation. - Add Motion Blur
You have to add a motion blur effect to your footage if you film at higher shutter speed with a GoPro camera and don’t have control over shutter speed. It’s better to use an effect like Pixel Motion Blur to add natural motion blur to your shot and it will counteract any heavy strobing. - Color Grading
You need to use a color corrector for color correction purposes. There are a lot of options and versatility in order to tweak the hue and saturation of specific colors in your scene. You can differentiate your footage and give it a cinematic feel by adding a true film aesthetic by using a film emulation plug-in called FIlm Convert.
Sunrise and Sunset
If you shoot during the golden hour, it will help your footage to stand out. Golden hours mean sunrise and sunset. Shadows are highly visible at these times and it helps define terrain features that aren’t visible during the afternoon. You ultimately differentiate yourself from the surplus of aerial footage out there, by doing this one step.
You have to think that you’re doing it for a big Hollywood release, no matter what project you’re working on. This way you can get to pay close attention to every single small detail. It will help you to spend more time capturing epic footage. It will turn you to be picky with the post-production process. Have fun and make something that is worth watching with this guideline.


Leave a Reply