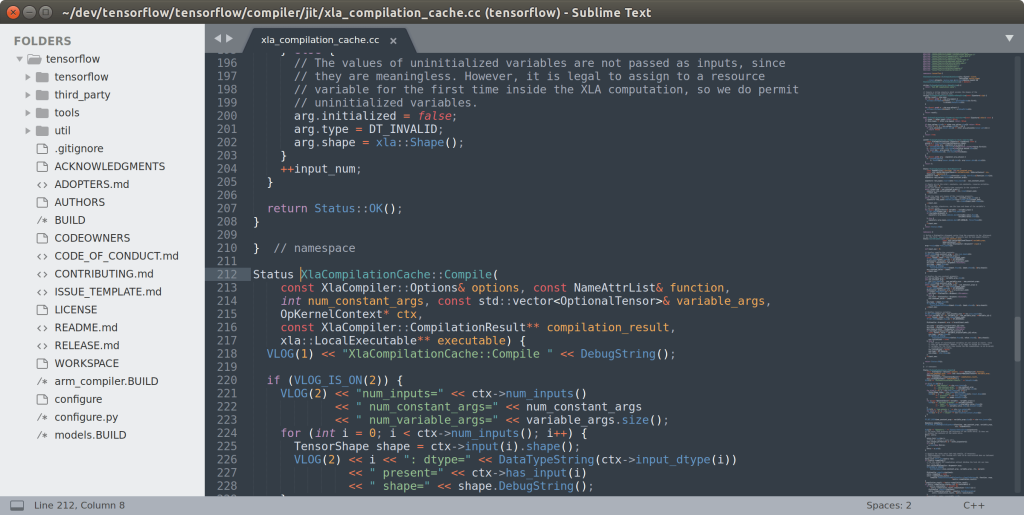
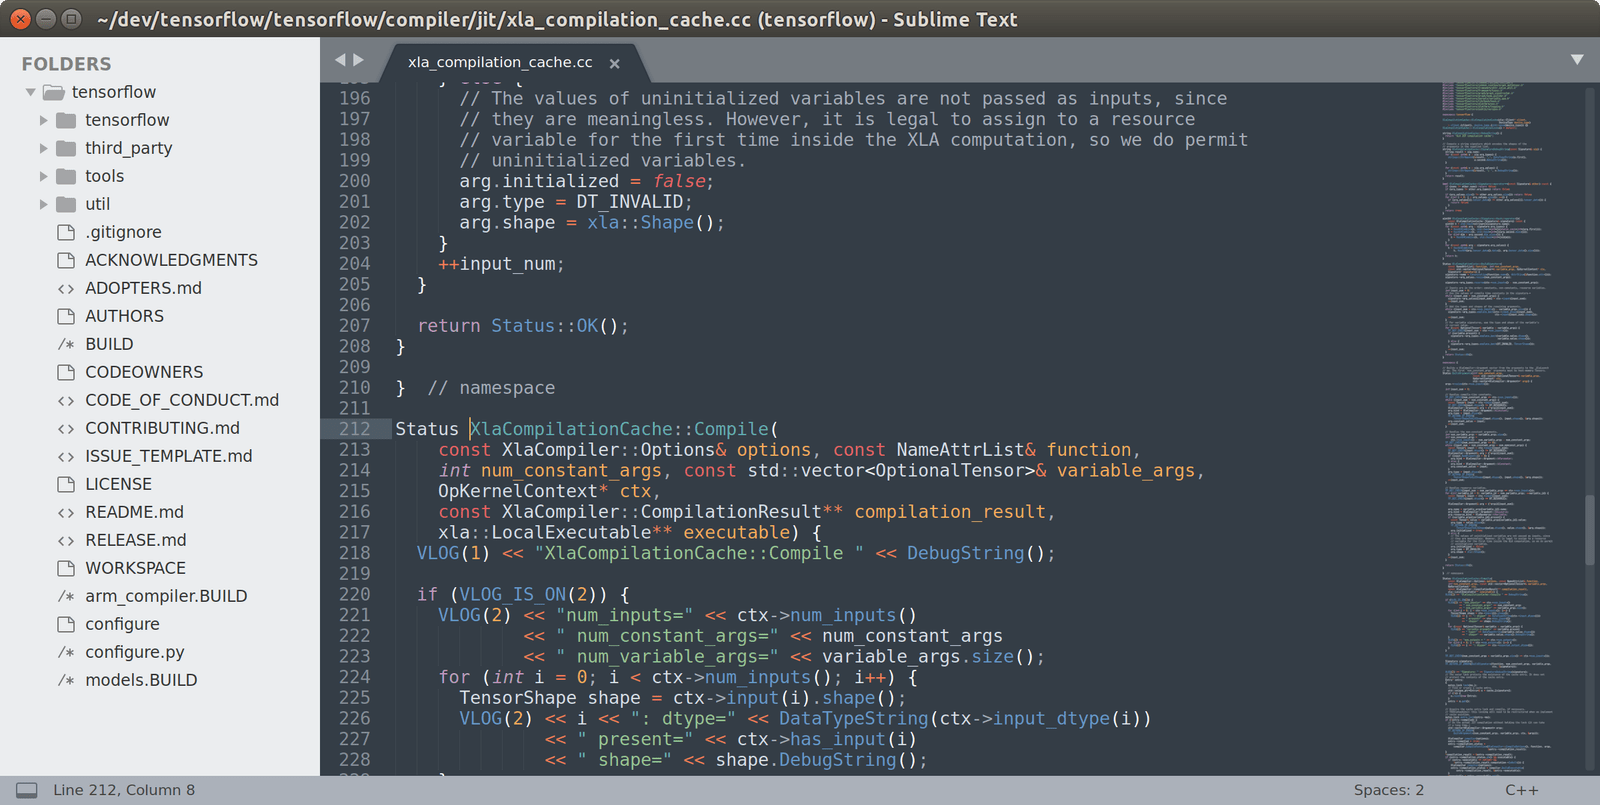
Sublime Text 3 is a popular text editor known for its speed, simplicity, and powerful features. It supports multiple programming languages and provides an intuitive user interface. If you are using CentOS as your operating system and want to install Sublime Text 3, this guide will walk you through the installation process.

Step 1: Update System Packages
Before installing any software, it’s essential to ensure that your system is up to date. Open a terminal and run the following command:
sudo yum updateStep 2: Install Sublime Text 3 Repository Key
Sublime Text 3 is not available in the default CentOS repositories. To install it, you need to add the Sublime Text repository key. Run the following command to import the GPG key:
sudo rpm -v --import https://download.sublimetext.com/sublimehq-rpm-pub.gpgStep 3: Add Sublime Text 3 Repository
Next, add the Sublime Text 3 repository to your CentOS system using the following command:
sudo yum-config-manager --add-repo https://download.sublimetext.com/rpm/stable/x86_64/sublime-text.repoStep 4: Install Sublime Text 3
Once the repository is added, you can install Sublime Text 3 by running the following command:
sudo yum install sublime-textStep 5: Launch Sublime Text 3
After the installation is complete, you can launch Sublime Text 3 by either searching for it in the applications menu or running the following command in the terminal:
sublConclusion:
Sublime Text 3 is a powerful and feature-rich text editor that can enhance your coding experience on CentOS. By following the steps outlined in this article, you should now have Sublime Text 3 successfully installed on your CentOS system. Enjoy using this versatile text editor to write and edit your code efficiently.


Leave a Reply