
Android is simple to use mobile OS, but advanced users will find that it has a wealth of hidden functionality. For instance, you may be familiar with the obscure menu option called Developer Options. These features, as the name suggests, are helpful for developers who are constructing Android applications; nevertheless, the common user will not find them to be as vital as they are.
USB Debugging is one of the most popular Android developer capabilities that has gained the greatest notoriety over the years. You have probably seen this technical term floating around, & thought about whether you should turn on it. Let’s have a look at what the USB Debugging mode in Android is and determine whether or not you require it.
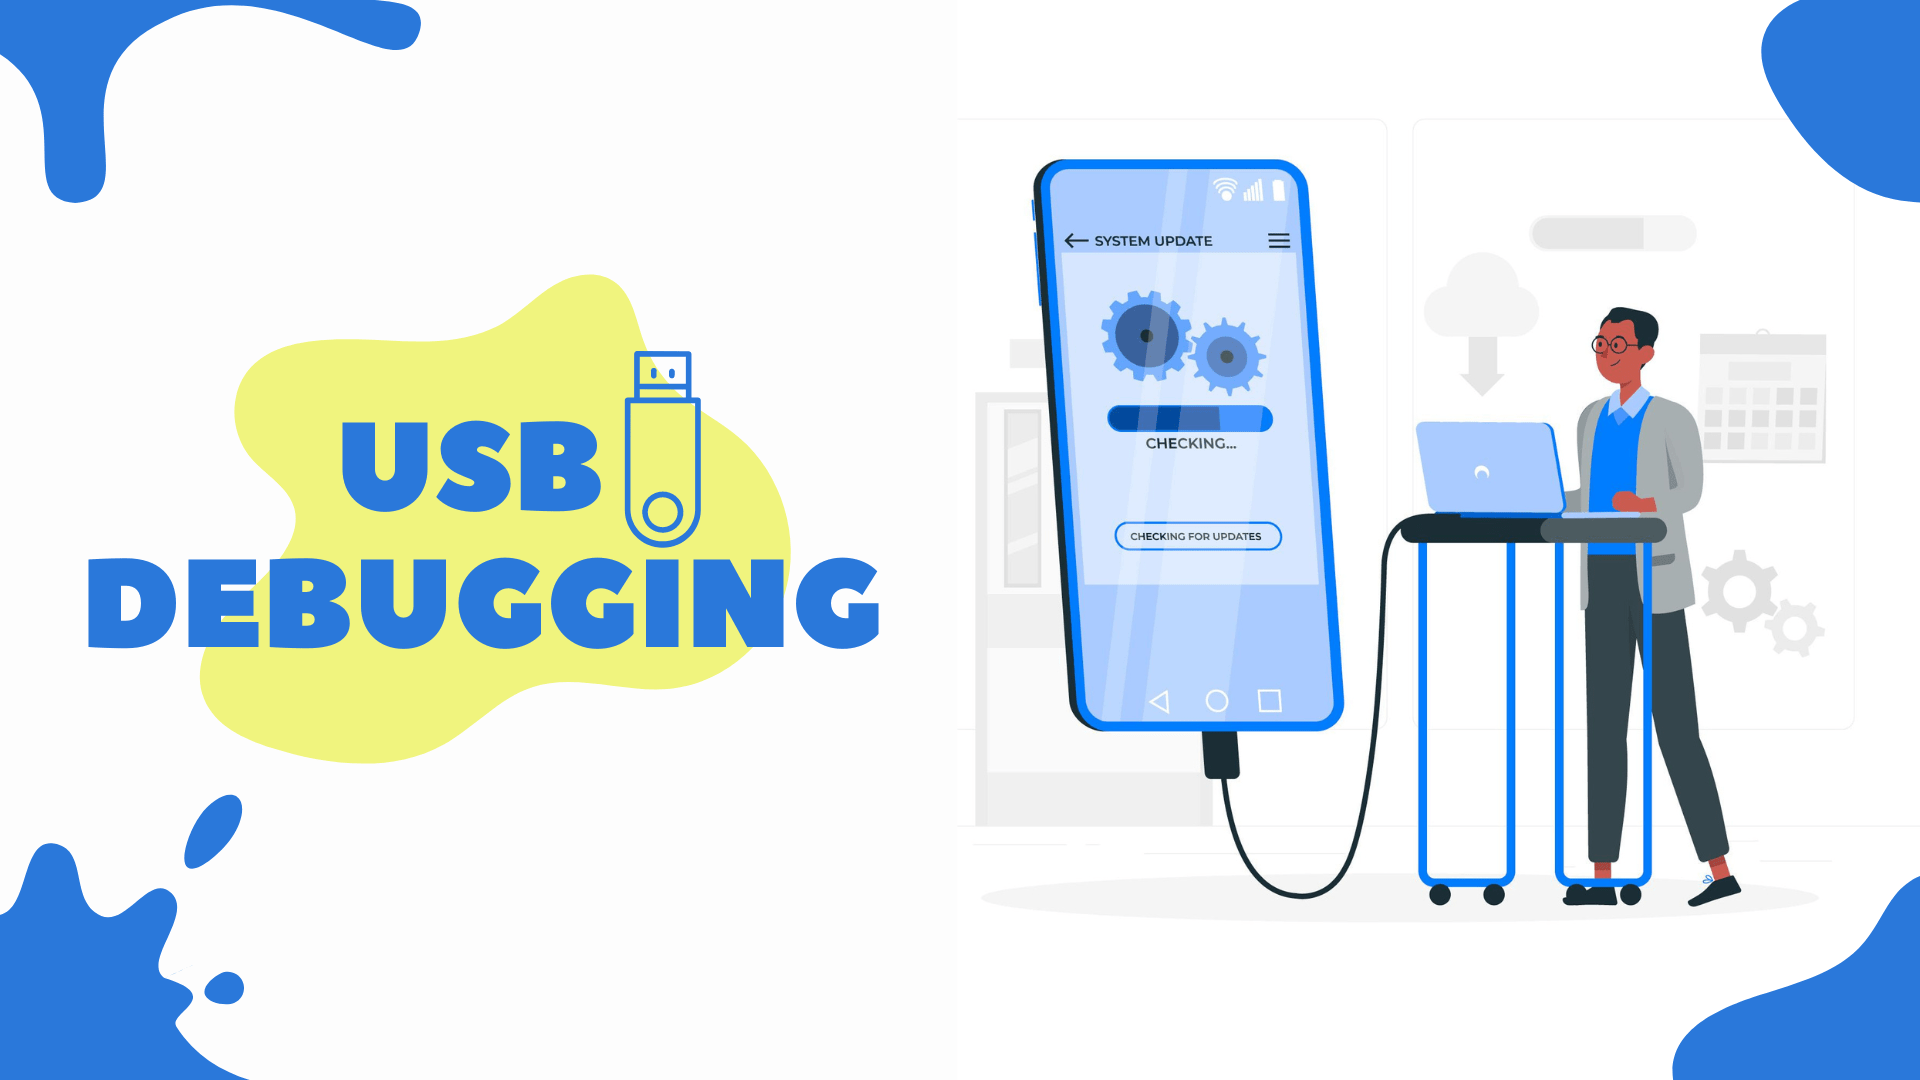
What Does Android USB Debugging Mode Mean?
Through the usage of USB Debugging, an Android mobile device is able to interface with a system that is using the Android Software Development Kit (SDK) in order to make use of enhanced functionalities.
In order to create applications for Android, you will need to download & install Android Software Developer Kit (SDK) on your local computer. The software development kit (SDK) equips developers with the tools necessary to build applications for a particular platform.
This is normally installed in conjunction with Android Studio, which provides an environment for the creation of Android applications. It comes with a set of tools that are essential for any coder/ developer, like a problem-solving debugger and a graphical editor. These tools are incorporated into the suite.
While creating on the phone, it would possibly be a tremendous hassle to manually transfer files or folders between devices, execute commands, and complete other operations of a similar kind. They do this instead by using the tools that are incorporated into the Android Software Development Kit (SDK) and Android Studio. And you must activate the USB debugging to do the same. In addition to this, you should also perform USB 3.0 driver downloads frequently in order to ensure good performance.
If you enable USB Debugging on your phone, it will be able to completely connect with a personal computer (PC), allowing you to use the many tools available to you. However, if you merely wish to connect your smartphone and PC via USB or Bluetooth for basic activities like syncing images, it is not required to activate USB debugging on your phone.
How can I Enable the USB Debugging Mode on my Android device?
On more recent Android devices, the option to enable USB Debugging may be found in the menu under Developer Options, which is set to be hidden by default.
- To access it, go to the Settings menu on your phone and scroll all the way down to About phone. Continue scrolling down until you reach the bottom of the following menu, where you will see an item labeled “Build number.” If you tap this a few times, you will ultimately receive a message that will let you know that you have been upgraded to the developer level.
- After that, go back to the Settings menu and scroll all the way to the bottom once again. Launch the System entry, and then (if necessary) expand the area labeled Advanced. Here you’ll find a new entry named Developer Options.
- According to your Android version, these instructions might alter significantly. It is possible, for instance, that the Developer options item will be shown on the main Settings page rather than elsewhere.
- Whatever the case may be, once you have entered the Developer options menu, locate the USB debugging option under the Debugging header. Tap the slider to turn it on, and then tap the checkbox to confirm that you are aware of the function that this feature serves in Android.
Now you’ve switched on USB Debugging. To make advantage of it, all you have to do is utilize a USB cord to connect your phone to a personal computer. When you do this, you’ll receive a popup on your phone asking whether you want to approve USB Debugging for that particular PC.
Because this is a security functionality meant to protect your device from being attacked, you should be sure that you have complete faith in the computer that is linked to your device before acknowledging this. If you ever make the mistake of accepting a pop-up for a respective device by accident, you may reset all trusted computers by selecting the option to “Revoke USB debugging authorizations” from the similar Developer settings page.
Wrapping Up!
In summary, this feature allows you to push advanced commands to your device when you connect your phone to a PC. USB Debugging is an essential tool for developers, but it also provides power users with access to several helpful methods. In spite of the fact that you are free to activate it whenever it is required, we strongly advise you to disable it whenever it is not in use. Your device’s level of safety will improve as a result of this change. That’s all! We hope you found the article interesting and helpful. Please feel free to drop your queries or suggestions in the comments section below


Leave a Reply