
Many users who use Outlook regularly make an OST (Offline Storage Table) file so they can keep working smoothly in Offline mode and save important mailbox data when the Exchange Server is temporarily down or unreachable. Users usually need an active Exchange Server connection or need to convert the OST file into an Outlook Data File (PST) to properly get to the data stored init. But the real problem happens when you can’t get to the Exchange Server anymore due to technical issues or account removal.
OST and PST files have very different structures, purposes, and uses. There is no direct way to import OST files into Microsoft Outlook using built-in options. You also can’t open OST files with the”Open With” option in Windows. The only way to fix this situation is to changethe OST file to PST format safely. There are two main ways to dothis conversion process. So, ifusers want to know how to safely and correctly change OST files to PST format, keep reading this complete guide.
Reasons to Convert OST to PST
There are a number of situations when users need to convert OST files to PST format for better access:
- When you delete an Outlook or Exchange profile, the OST file is left behind and cannot be accessed easily.
- Converting OST files to PST files lets you get back into your mailbox data without server dependency.
- PST files are the best way to make safe backup copies of Outlook mailbox data for future use.
- You can move PST files around and import them into Outlook on a different computer or user profile.
- PST conversion can help you get your data back if your OST file is broken, damaged, or corrupted.
- OST files are used with Exchange and IMAP accounts, while PST files are useful when switching to POP accounts.
- Changing OST files to PST files makes the server’s mailbox smaller, lighter, and faster.
- PST files let you access your data even when OST synchronization doesn’t work properly.
- Companies often need PST files for legal reasons, email archiving, audits, or compliance purposes.
Manual & Free Methods for OST to PST Conversion
Users can use PowerShell scripts, Outlook Import/Export features, and Archiving to convert OST files to PST format for free in a number of ways. However, there arelimits, risks, and requirements for each method. Let’slook at these choices one at a time in detail.
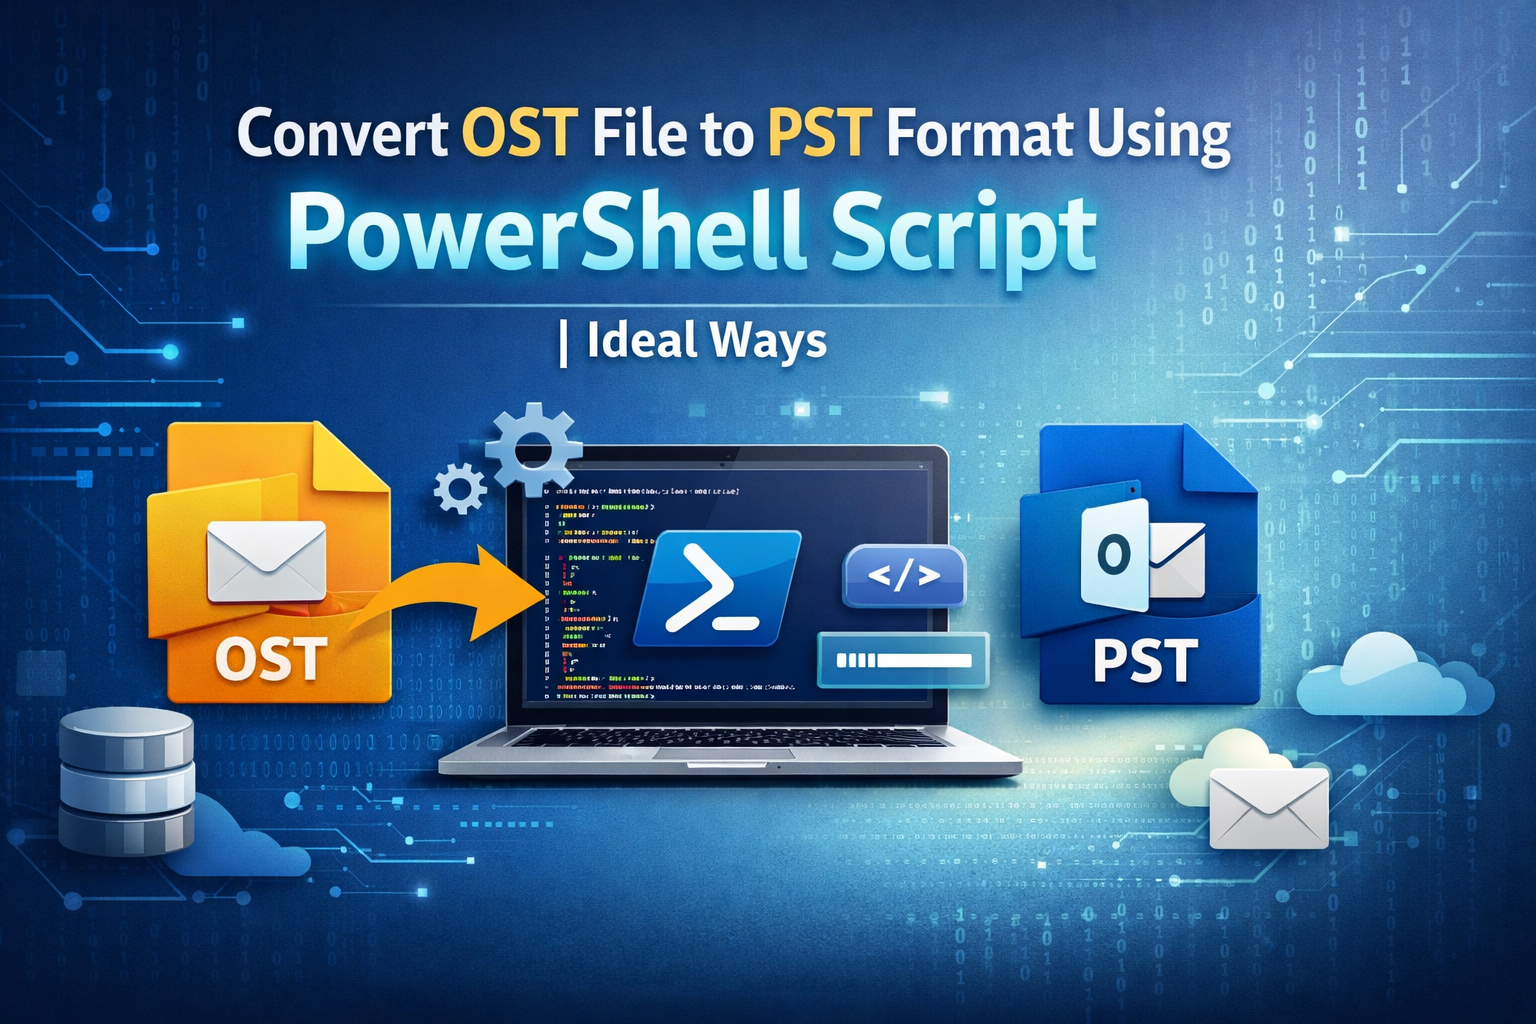
Method 1: How to Convert OST to PST Using PowerShell Script?
PowerShell does not support direct conversion of OST files to PST files natively. The workaround is to first exportthe OST mailbox data to a CSV file, then import it into Outlook, and finally export it as a PST file manually.
PowerShell Script to Move OST Data to CSV
PS C:UsersAdmin> $outlook = New-Object -ComObject Outlook.Application
>>
PS C:UsersAdmin> $namespace = $outlook.GetNamespace (“MAPI”)
PS C:UsersAdmin> $inbox – $namespace.GetDefaultFolder(6) $namespace.GetDefaultFolder (6) # 6 = olFolder Inbox PS C:UsersAdmin> $messages =
PS C:UsersAdmin> $outputPath PS C:UsersAdmin> $outputPath PS C:UsersAdmin> $data @()
$inbox. Items
“C:UsersYourUsernameDocumentsOST_Emails.csv” “C:UsersAdminDocumentsOST_Emails.csv”
PS C:UsersAdmin> foreach ($mail in $messages) {
>>
>>
if ($mail is [____ComObject] -and Smail.Subject) {
$data += [PSCustomObject]@{
Subject
Sender To
Received
Smail.Subject
$mail.SenderName $mail. To
$mail. ReceivedTime
BodyPreview = $mail.Body.Substring(0, [Math]::Min($mail.Body.Length, 100)) # Limit to first 100 chars
}
}
}
PS C:UsersAdmin> $data | Export-Csv -Path $outputPath -NoType Information -Encoding UTF8
PS C:UsersAdmin> Export completed to $outputPath
PS C:UsersAdmin> $inbox – $namespace.GetDefaultFolder(6) # Inbox PS C:UsersAdmin> $contacts – $namespace.GetDefaultFolder(10)
After creating the CSV file successfully, use the Import/Export wizard to bring the CSV file into Outlook.
Import CSV into Outlook
- To import or export, open Outlook and click on File > Open & Export.
- Select Import from another file or program.
- Choose Comma-Separated Values (CSV).
- Look through the CSV file and finish the import process carefully.
Export PST from Outlook
- Click File, select Open & Export, then choose Import/Export.
- Choose Export to a file.
- Pick Outlook Data File (.pst).
- Select the required mailbox folders and specify the destination location.
- Finish the export process.
Limitations: This method is hard to use, needs Outlook and Exchange to work properly, doesn’t export attachments correctly, and isn’t good for large or multiple OST files.
Method 2: Exporting Mailbox as a PST File
This method only works if the OST file is still linked to an Exchange account that is active and accessible.
Steps:
- Use your Exchange account to log in to Outlook.
- Go to File, choose Open & Export, and select Import/Export.
- Select Export to a file.
- Choose the Outlook Data File (.pst) option.
- Pick folders, set a destination, and finish.
This method doesn’t work for OST files that don’t have a parent profile.
Method 3: Use Archiving to Save OST Emails to PST
With Outlook’s Auto Archive feature, users can move older OST items to a PST file gradually.
Steps to Enable AutoArchive:
- Launch Outlook and select File > Options.
- Choose AutoArchive Settings under Advanced.
- Choose how often and where to archive emails.
- Keep and save the changes.
This method only works for storing old emails, not for converting all of your OST files.
Most Recommended Solution to Convert OST to PST Without Outlook and Exchange
Manual methods only work for a short time and often take a long time. Softaken OST to PST Converter is a professional and reliable wayto get around these problems efficiently.
This tool lets users convert a large number of OST files to PST format without needing Outlook or Exchange Server connectivity. It exports emails and attachments safely while keepingthe original folder structure and email properties intact.
Steps to Use Softaken OST to PST Converter
- Get the OST to PST Converter and install it on your system.
- Start the tool and choose Add Files or Add Folder. Then, load the OST files and click Next.
- Select PST as the format for export.
- Choose the destination path and begin the conversion process.
Conclusion
In this guide, we discussed a number of free and manual ways to convert OST files to PST format. PowerShell and Outlook-based solutions might work in some situations, but they won’t work for orphaned or corrupted OST files. Softaken OST to PST Converter is the best way to convert OST files to PST format without needing Outlook or Exchange. It is complete, safe, reliable, and works very well.


Leave a Reply